My 1:6 Horse Project

Collector Freaks Forum

Help Support Collector Freaks Forum:

This site may earn a commission from merchant affiliate links, including eBay, Amazon, and others.
Uh, guys, don't mean to interrupt your sale, but...we're makin' a horse here...

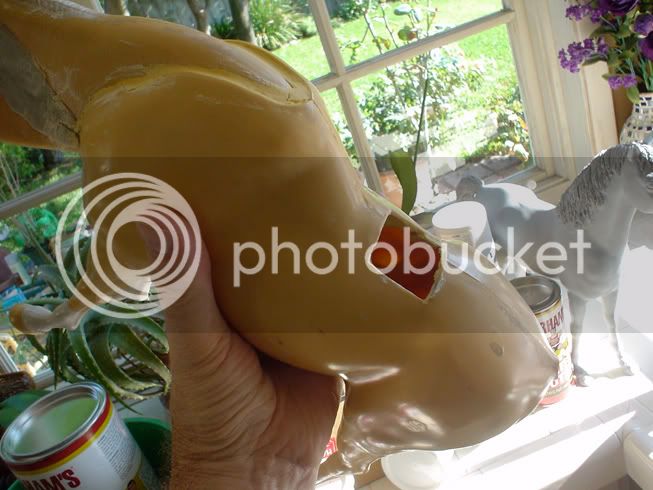
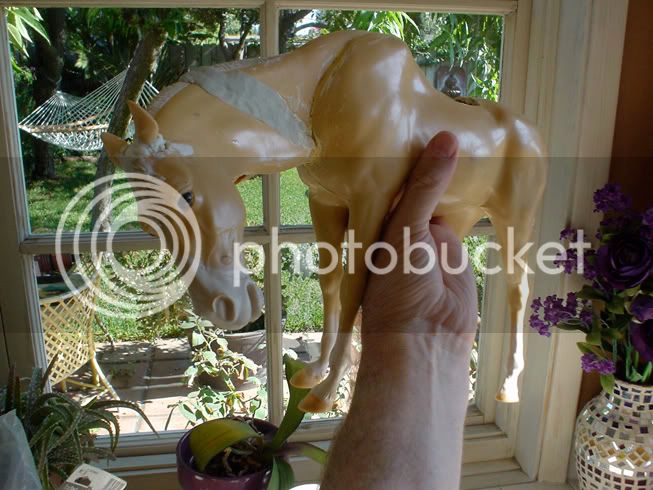
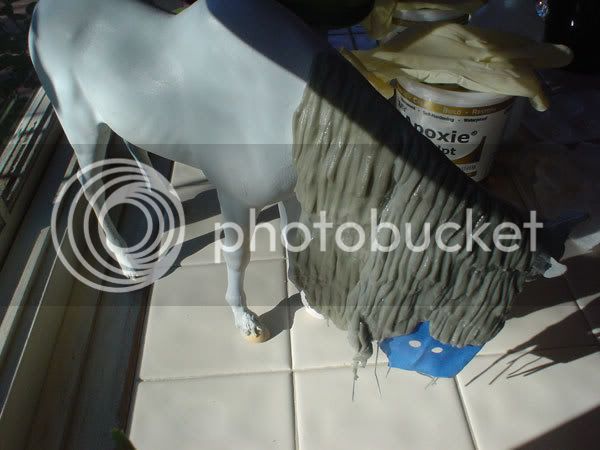
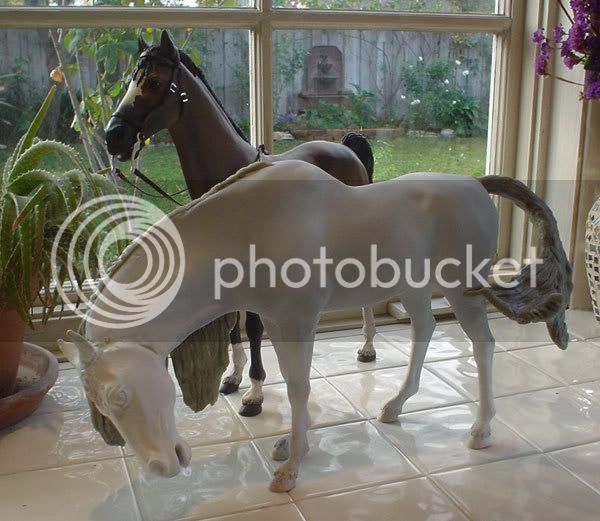
Okay, Brego is primed, and this'll be it for him for a while. I'll be working on the second horse with the adjustable neck, and seeing what I've learned from mistakes on the first one. As you can see in the first photo, I've already welded the first neck joint into a fixed position with Magic Sculpt, removed the metal pin that anchored the head, and removed some wheels from the hooves (those black parts next to the head).

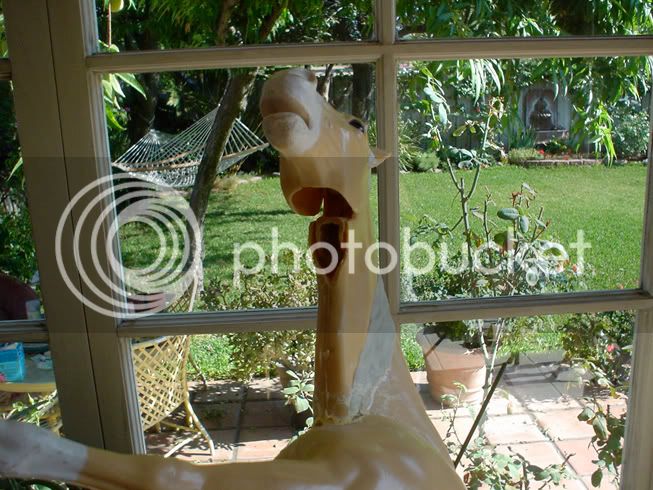
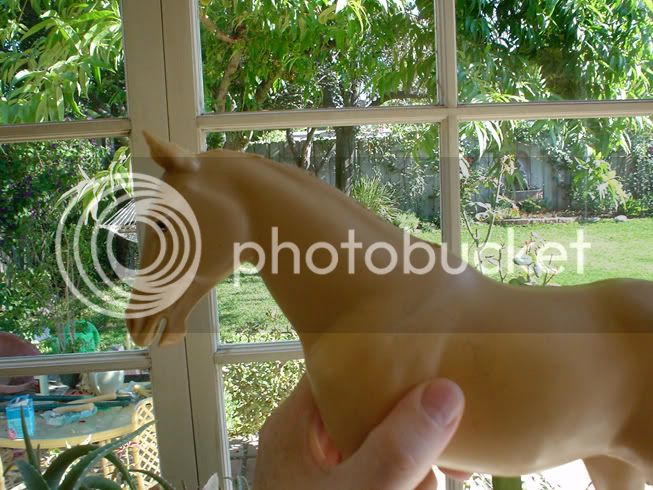
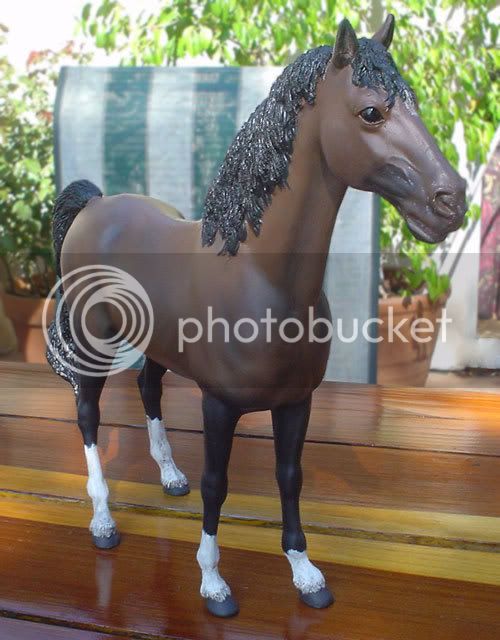
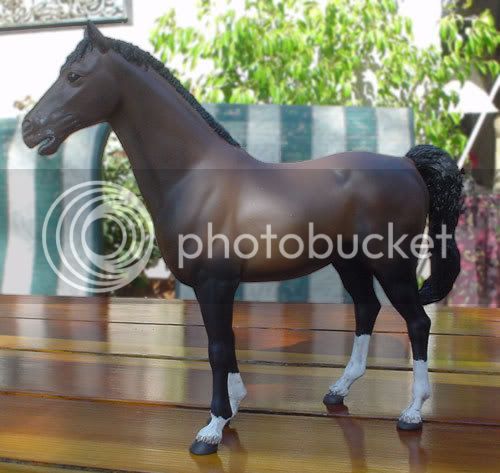
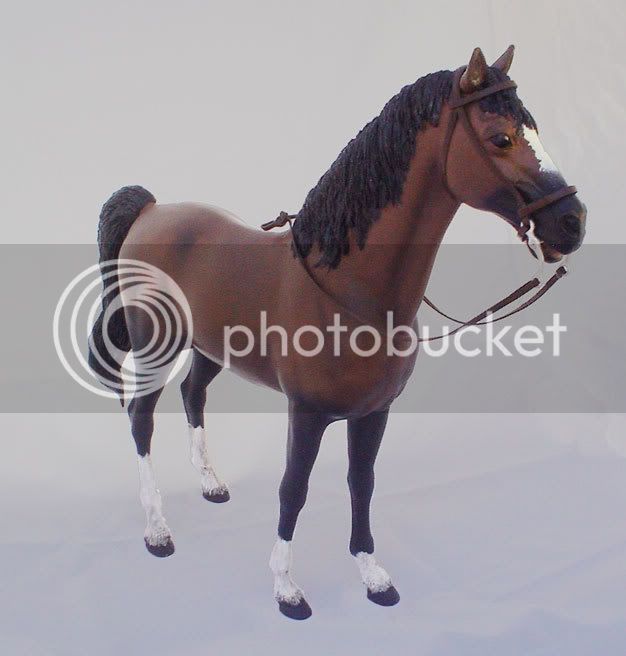
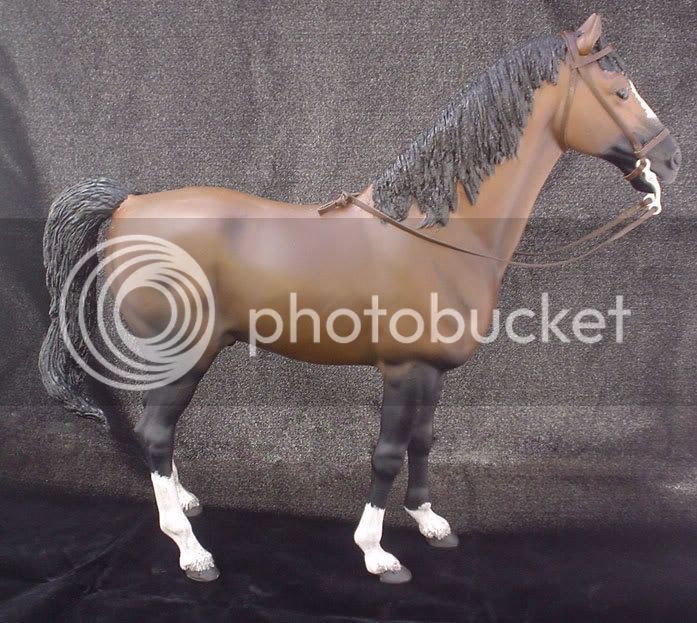
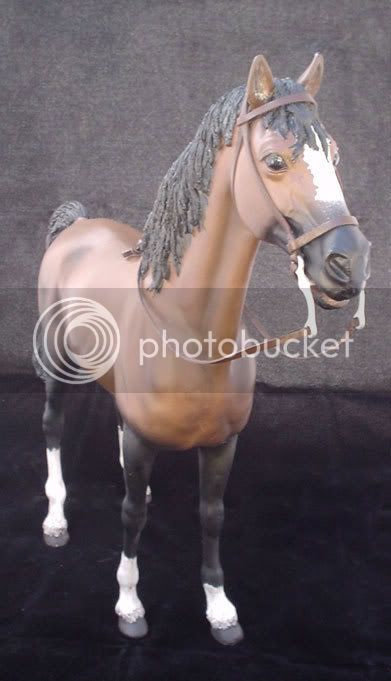
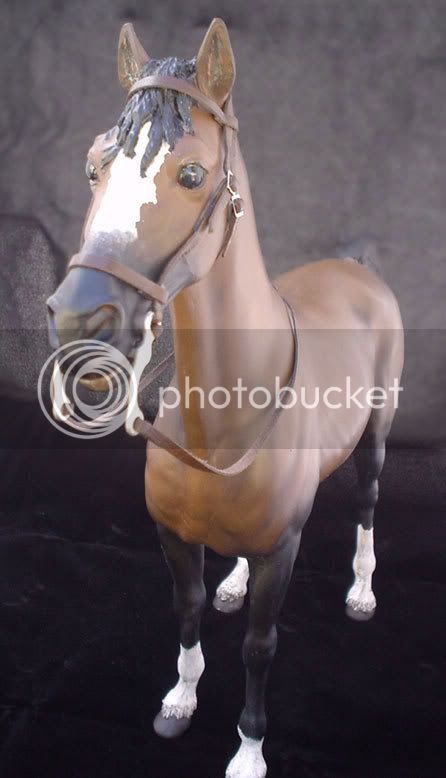
Brego's final touches include untrimmed fetlocks over the hooves like those on the Weta RWOS (which I've used as a reference), a slight tongue to cover the seam inside the mouth (but very thin so a bit will still fit the mouth later) and a few whiskers. The whiskers are from a soft brush. I drilled small holes, dipped some bristles in Squadrons, inserted them, and trimmed them to a shorter length after the putty dried.

Primed1.jpg


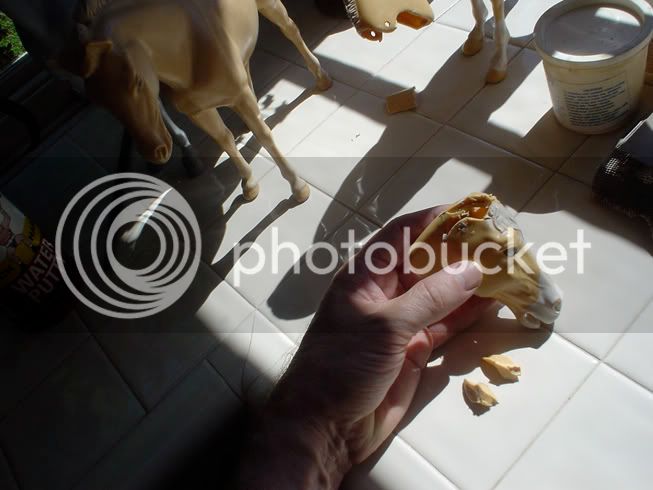
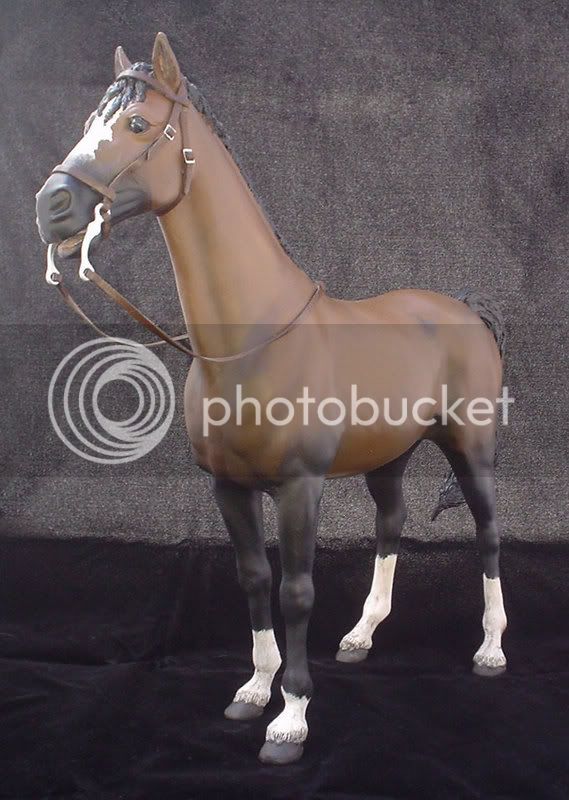
Seams came out pretty well, though I'm learning you can never sand enough. I've used sanding sponges. They conform real well to the horse's curves, and you can rinse them clean and reuse them.

Primed2.jpg


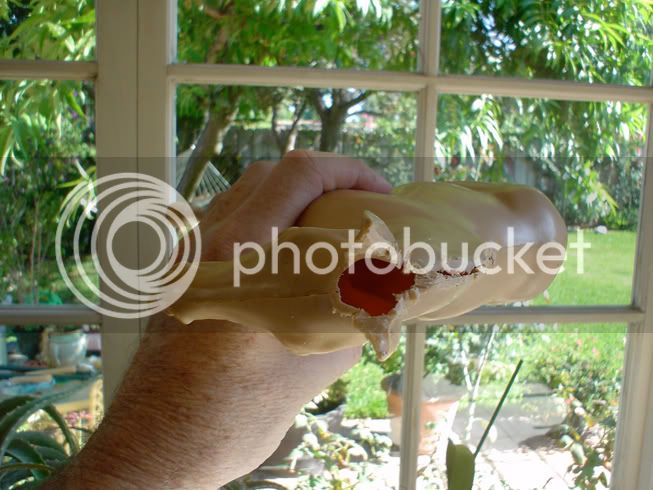
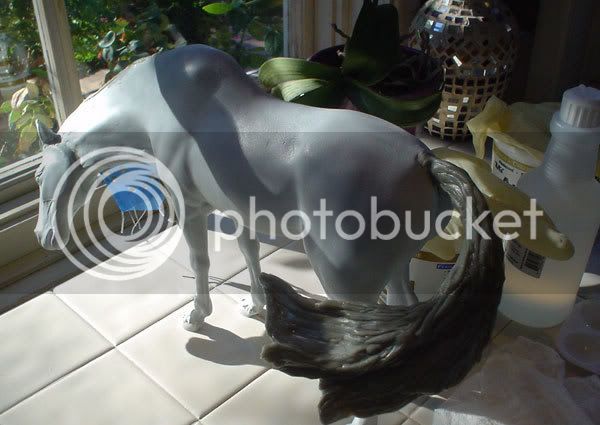
I think I mentioned having turned this mare into a gelding, but I don't thnk it's shown in any photos yet. The "proof" is below. Later today a friend who works with horses is going to stop by to give me a critique. I'll be asking her about making him a stallion. I need some guidance concerning exact placement of the rest of the "proof"...you know what I mean...

Primed3.jpg


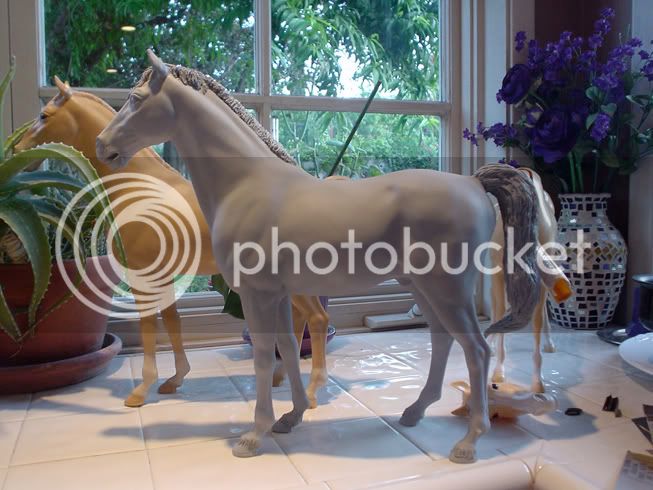
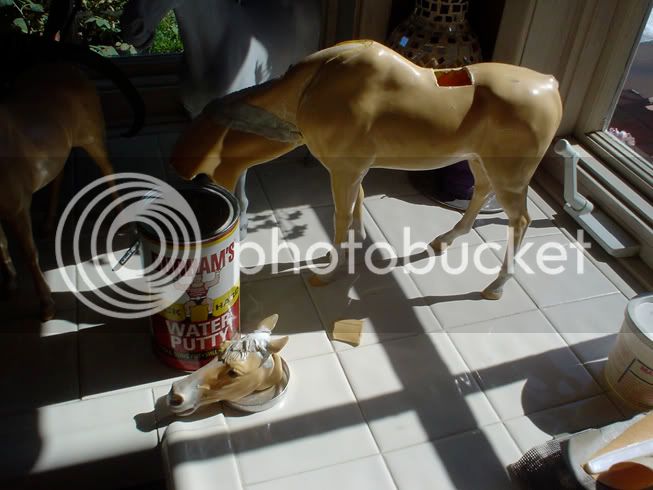
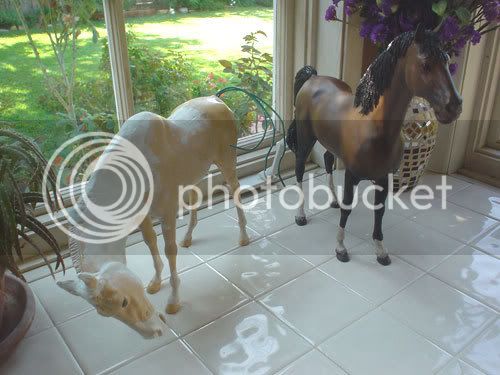
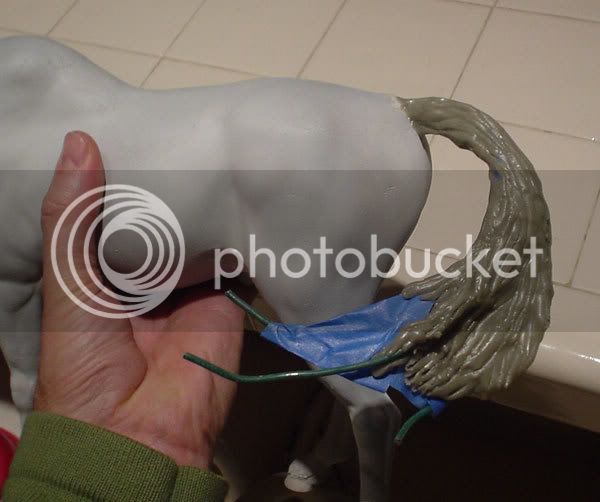
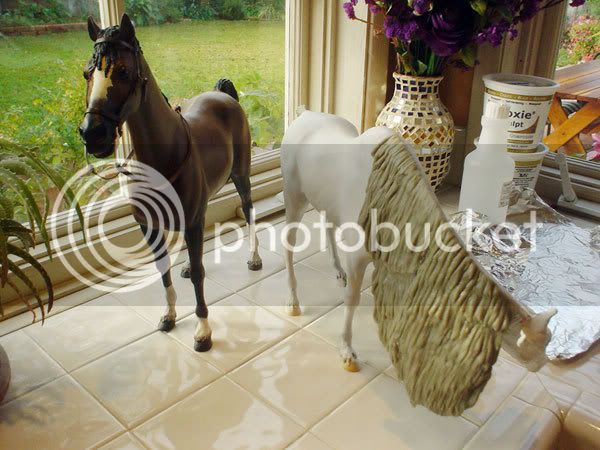
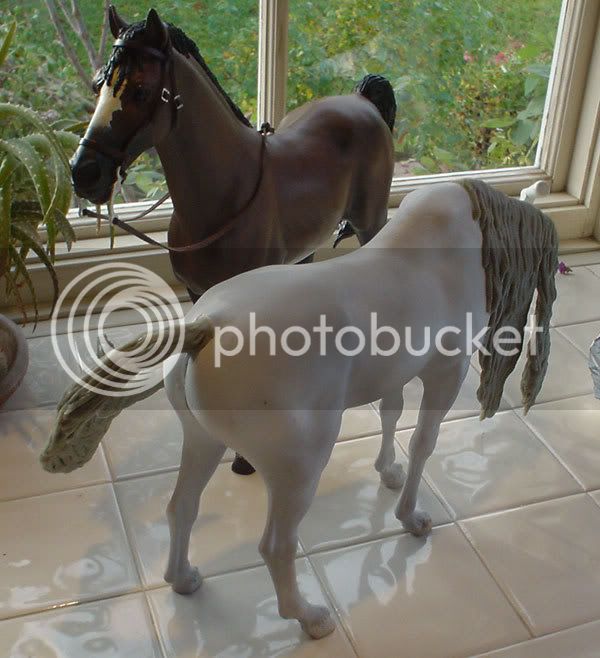
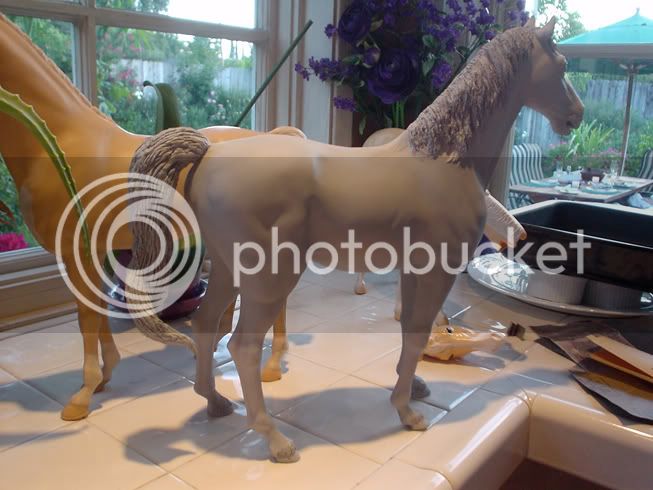
So there's a side-by-side before-and-after, and a peek at how #2 is shaping up. He's going to undergo some ear surgery next.

Thanks to my wonderful wife for letting me work in the kitchen where the light is better than in the garage.
 
hole.jpg


For Arod, horse #2, I've decided since that stinky green Squadron putty leaves things so smooth, I'll experiment with pouring the filling through a hole I cut with a dremel. I'll patch the part I removed back over the hole with Squadron's later. This horse's original cement was holding up much better than the first one. I've only filled it halfway and am giving it plenty of drying time before adding more. I don't want moisture trapped inside the horse.

surgery.jpg


Time to flip those ears. I cut them out with a dremel cutting wheel.

ears.jpg


I'm still using Magic Sculpt, but I've switched to the white formula.

throathole.jpg


The moveable neck needed some trimming. I'll fill the gap with Magic Sculpt when I sculpt neck muscles.

mountedhead.jpg


Right now Gorilla Glue is fixing the angle of his head.

Now for Bill. I thought my Marx "Pancho" pony had snuck into a photo already, but I see now that it didn't, so I have no shot of its original mane -- an upstanding cropped mane. Bill has a very long mane that hangs, so first I had to remove the punk look:

bill1.jpg


bill2.jpg


Next, more filling for Arod and some new neck muscles, and the first pour of filling for Bill the Pony.
 
Last edited:
Two months' hiatus...whew! Got a little distracted by other household projects.

The horse I've dubbed Brego...although the reference shots I used may be of another horse...has his preliminary paint. He'll get weathered as I progress with saddle (which I'll fabricate), bridle (kit from Rio Rondo), and armor (Marx original mask will get customized). The Arod for Legolas is slowly coming along. The Bill the Pony has been filled, but nothing more, so he's not pictured here.

1painted.jpg


I don't think Aragorn's mount will be ready when he gets here.

Brego1.jpg


Brego2.jpg


This is the first thing I've painted in years (other than my house that is). Lots of mistakes to learn from. Thanks for looking.
 
if there are mistakes theyre not obvious to me.
I might would make the nose a little darker to differentiate it from the rest. but thats just a thought.

nice work Gruff.
 
Last edited:
Very nice work Gruff.... You've somehow managed to make the body look like it's actually covered in nice cleek horse hair... Outstanding work.

I have to agree wuith Occulum on the nose, though. If you fix that, this will be a damn near perfect horse!! :rock2
 
Occulum, DarkArtist...thanks for the suggestion. I went back to work on his nose. Wish my camera didn't suck. He really is looking better than these photos.

Bridle is a kit from Rio Rondo. I forgot to order horseshoes from Gary at RR, and will add them later.

Les...you got a reference for Napoleon's horse?

Here he is:

polish5.jpg


polish4.jpg


polish3.jpg


polish1.jpg


polish2.jpg
 
Last edited:
Great job Gruff. If it looks better than these pics, you ought to be proud of the job you did.

Has anyone looked into those leather horses, hand made, possibly from India?
 
I haven't seen those Indian horses in a while, but I think they're close-but-no-cigar alongside Sideshow figures.

I'd hoped to have more progress on horse #2 before I posted again, but as my thread is sinking into oblivion and I haven't touched the horse for over a week, here goes:

I primed the horse so I could evaluate my sanding progress. I can see a few spots to touch up on the neck before painting, but the "trap door" I cut on his back to pour the filling is invisible, so it's time to sculpt hair.

I built the mane and tail over an armature made of wire and painter's tape. You've already seen the heavy green electrical wire embedded in the inner "stuffing" (Durham's Rock Hard Water Putty) for the tail. The wires for the mane were from a very rare source: Sideshow twisty-ties. I drilled a series of holes along the crest of the neck, and inserted my twisty-ties into the Durham's inside using Gorilla Glue, which expands. Slopover as it dried wasn't an issue, since the finished mane will be attached over a good width of the neck. When it dried, I bent the twisty-ties into the flowing shape I wanted and added the tape. I punched holes in the tape so there would be bonding contact front-to-back but still a shape to build on.

armature2.jpg


armature3.jpg


Won't be any flies on this guy -- not with this lethal tail.

armature1.jpg


The mane and tail are still pretty coarse, almost dreadlock-like.

fmane1.jpg


fmane3.jpg


That split in the mane will accommodate the reins. I have yet to build the forelocks on the head, which I now know how to trick out so the bridle can be threaded through. More sanding and smoothing to do after the final hair is built and a finer texture layer goes on both mane and tail.

fmane2.jpg


Can't wait to get to painting him. Gonna go to Kit Kraft to look at railroad landscaping, find him some nice dried grass to chew on.
 
Last edited:
Looking fantastic Gruff!! And I love how the other one turned out, don't know how in the Hell I missed this thread after you painted him. Seriously great work, I am always impressed with it.

Keep it up, I can't wait to see how this turns out. :D
 
Beautiful work so far Gruff!
I am amazed.
That one with it's head down looks so real!

Keeping an eye on this bro. You are impressing us all with this.
Keep up the good work.

(I may be after you for one some day myself!)
 
excellent excellent excellent work!

I love watching stuff like this, especially someone who's new to a certain skill (2 sculpting tools) :D (i use anything I can get my hands on at the mo... water soaked toothpicks are a favourite of mine currently. plus pieces of wire, small screwdrivers, fingers... anything works)

You've done SO well with these, the sculpting is great and the painting has worked out amazingly! VERY well done sir :chew
 
Back
Top