


TonyMeis
Super Freak
Re: T&C Custom- I'm no expert, never was, never will be...
haha, yea, Crystal and I started this project together, of course there are many more people involve, we'll recognize them one by one through out time.
your tutorial was amazing, sometime it take someone to step it up and lead. It was your guts that inspired me to do this mod. Keep it up, we are here to motivate each other. Thank you once again, and look forward to see more amazing skills you do. Most people on the board just look, and a few of them are willing to take that risk and mod their figure because of the cost of each figure they purchase. We appreciate every figure we get, but not satisfy certain part when we see and we MUST act upon to satisfy our eyes. Big name brand company has a limit on how much they should charge on each figure, and there must be profit made, not everything will come out and satisfy every customers. That's when we come in : )
haha, I know exactly how you feel. Modification isn't something we do when we first start collecting..... it took us years of sicken tired of being sicken tired of to finally decide to do some crazy mod. Some people like Elvis1976 who is just natural born modifier, LOL, anything touches by him turns into gold, LOL
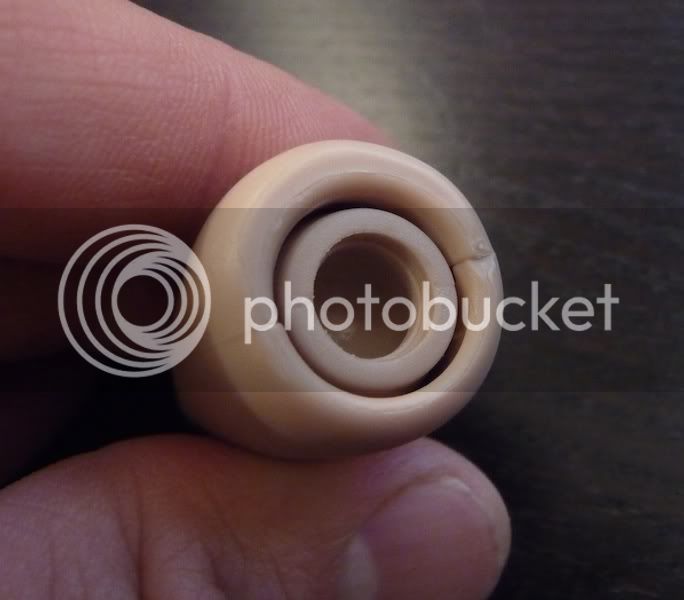
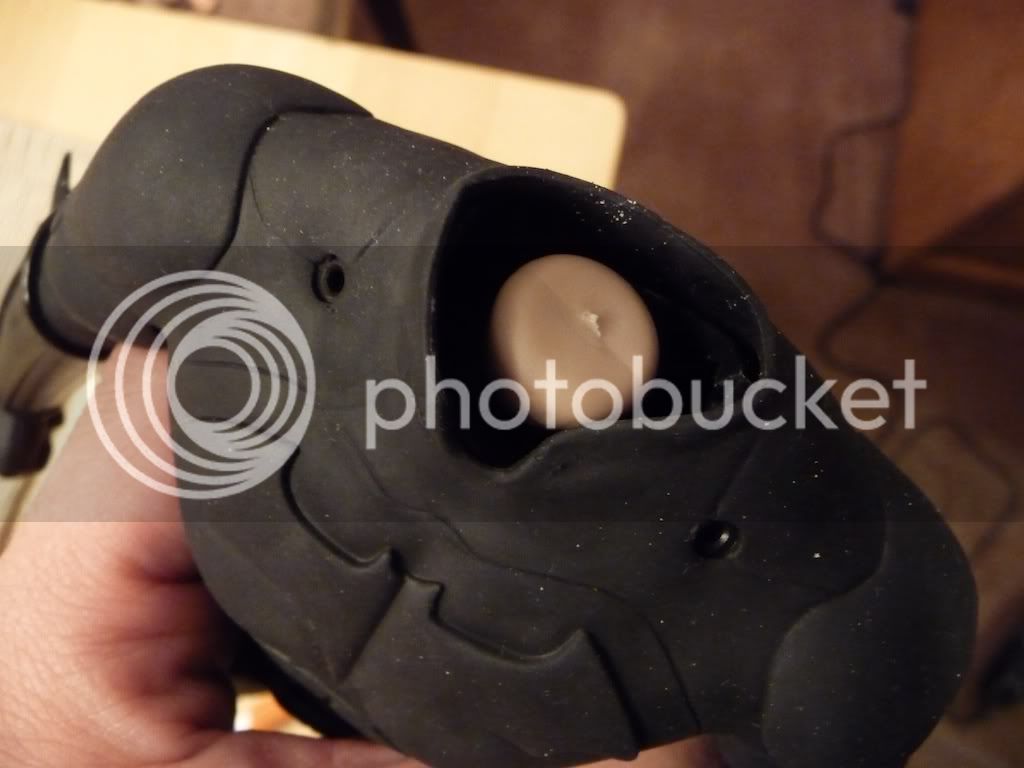
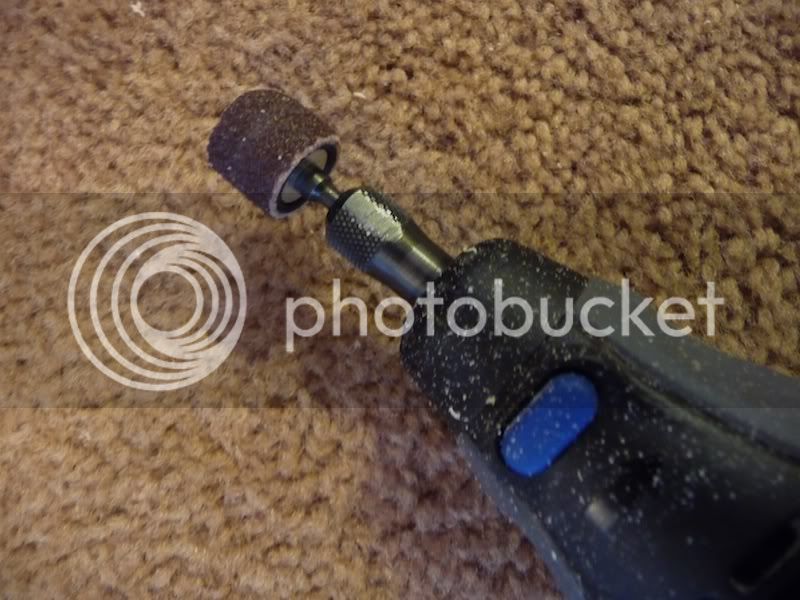
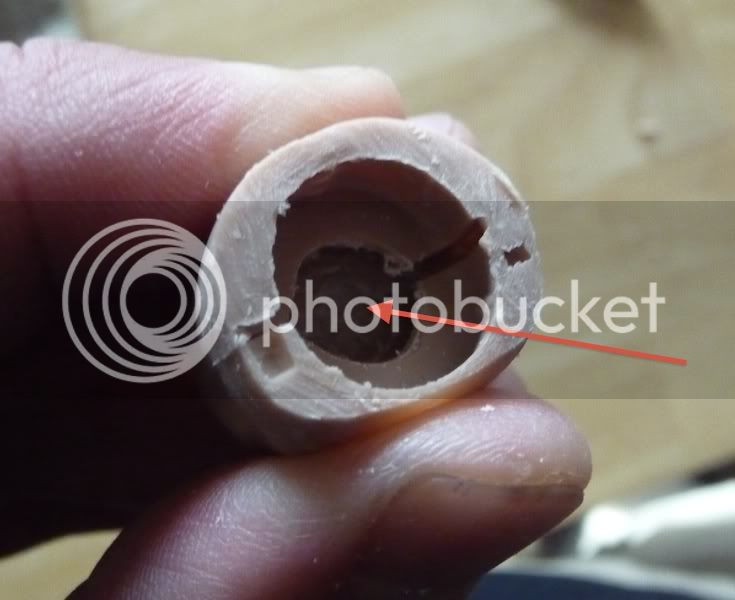
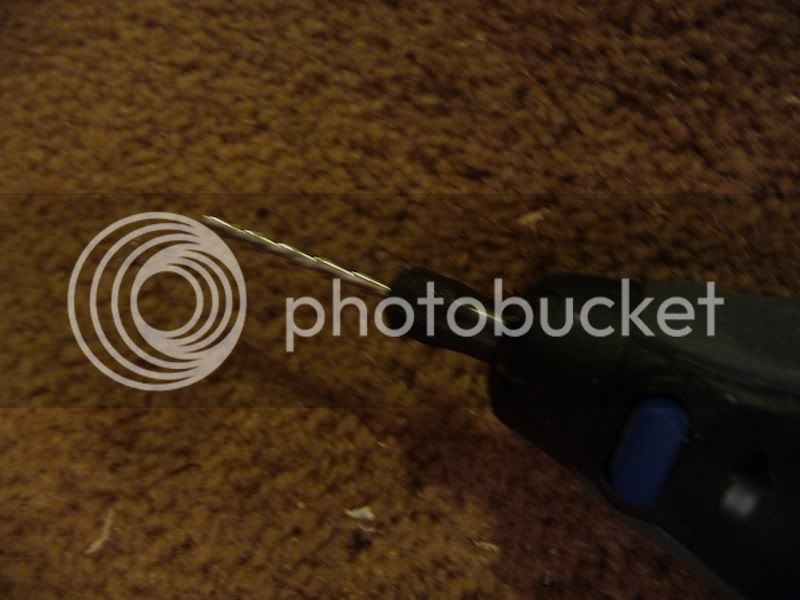
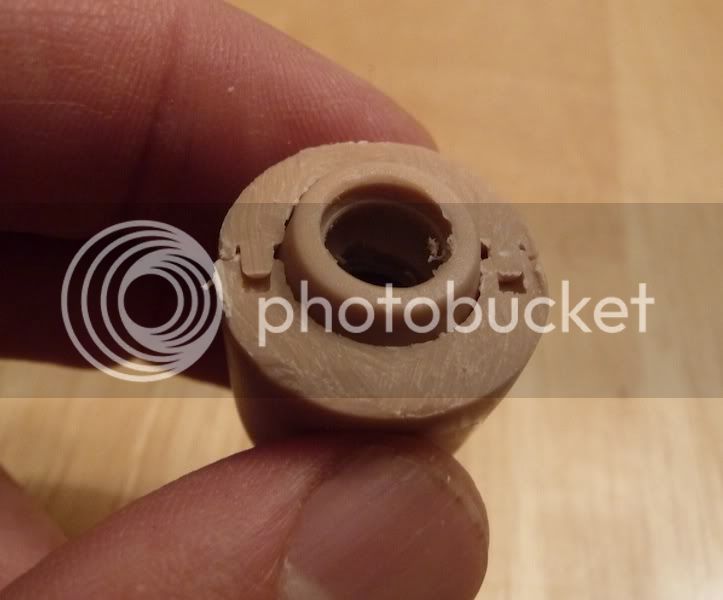
but we fail our ways to where we are today.... see pictures below

LOL, when passion took over, sleep and time are over rated. We can go all day and night if we wish to, then again, we do enjoy our meals and exercise at the same time, haha!
Thank you Klocket, we are more than happy to share what we have to everyone. We need more modifier in the 1/6 industry, and more people who is open minded to share their thought, skills, and experience to everyone and raise the level of customize world. But when you see enough, some of these mod are actually very simple, thru time of trail and errors of course. When I was young I use to think modify, painting, and customizing figures or models are crazy hard. After a few tries, it became something I must do, haha
Thanks for the props. Glad someone appreciated my tutorial, it almost seemed as if no one noticed it.
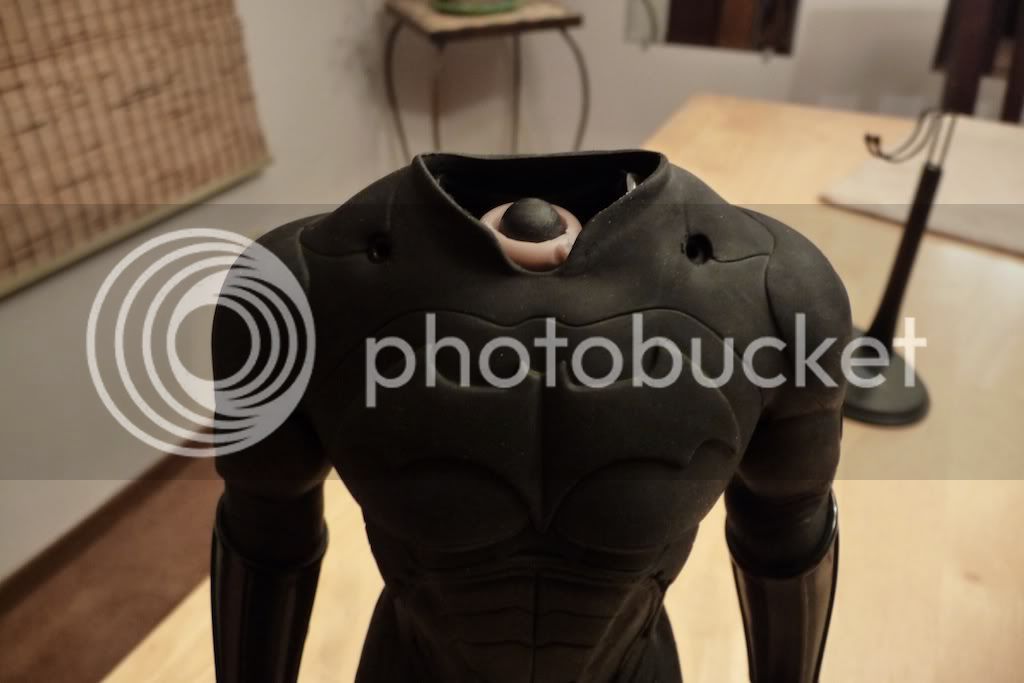
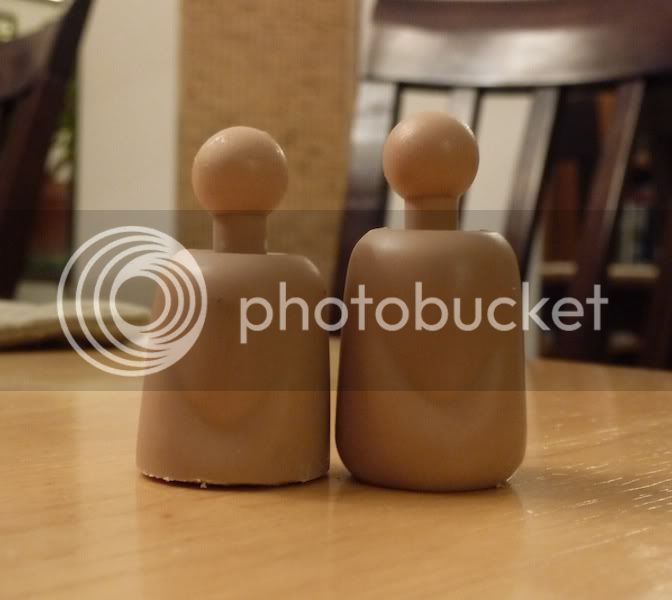
Head bowed with a shorter neck makes him way meaner looking. The giraffe neck makes him seem kind of wimpy.
Nice cape! WHen you say "we" who are you referring to? Is this a joint project?


haha, yea, Crystal and I started this project together, of course there are many more people involve, we'll recognize them one by one through out time.
your tutorial was amazing, sometime it take someone to step it up and lead. It was your guts that inspired me to do this mod. Keep it up, we are here to motivate each other. Thank you once again, and look forward to see more amazing skills you do. Most people on the board just look, and a few of them are willing to take that risk and mod their figure because of the cost of each figure they purchase. We appreciate every figure we get, but not satisfy certain part when we see and we MUST act upon to satisfy our eyes. Big name brand company has a limit on how much they should charge on each figure, and there must be profit made, not everything will come out and satisfy every customers. That's when we come in : )
Oh man, if I had money to spare for another Batman Begins figure, I would have tried something like this. Brilliant work.
haha, I know exactly how you feel. Modification isn't something we do when we first start collecting..... it took us years of sicken tired of being sicken tired of to finally decide to do some crazy mod. Some people like Elvis1976 who is just natural born modifier, LOL, anything touches by him turns into gold, LOL
but we fail our ways to where we are today.... see pictures below
*sub T* and man you stay up late.
Ski
LOL, when passion took over, sleep and time are over rated. We can go all day and night if we wish to, then again, we do enjoy our meals and exercise at the same time, haha!
Man... there is some serious guts in this thread... the mod looks great but i wouldn't dare try it.
Thanks for sharing!
M.
Thank you Klocket, we are more than happy to share what we have to everyone. We need more modifier in the 1/6 industry, and more people who is open minded to share their thought, skills, and experience to everyone and raise the level of customize world. But when you see enough, some of these mod are actually very simple, thru time of trail and errors of course. When I was young I use to think modify, painting, and customizing figures or models are crazy hard. After a few tries, it became something I must do, haha
Last edited:


 just learned something about my camera, decide to play around real quick....ISO.... there are still a lot to learn......