


katkuru
Super Freak
Part 1
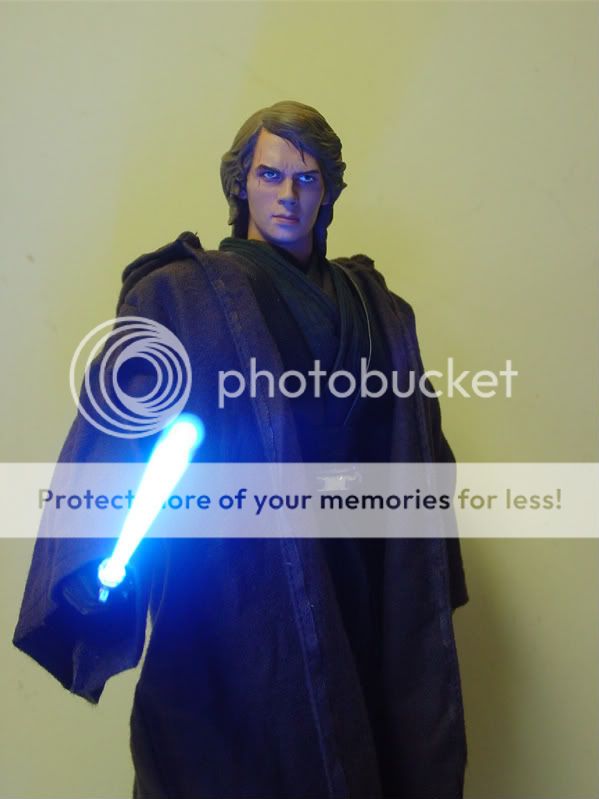
Had some questions as to how these are done. I'm no expert but this is how I do mine. They are not that difficult to do, but are very fragile so be careful. You will also need to know how to solder.
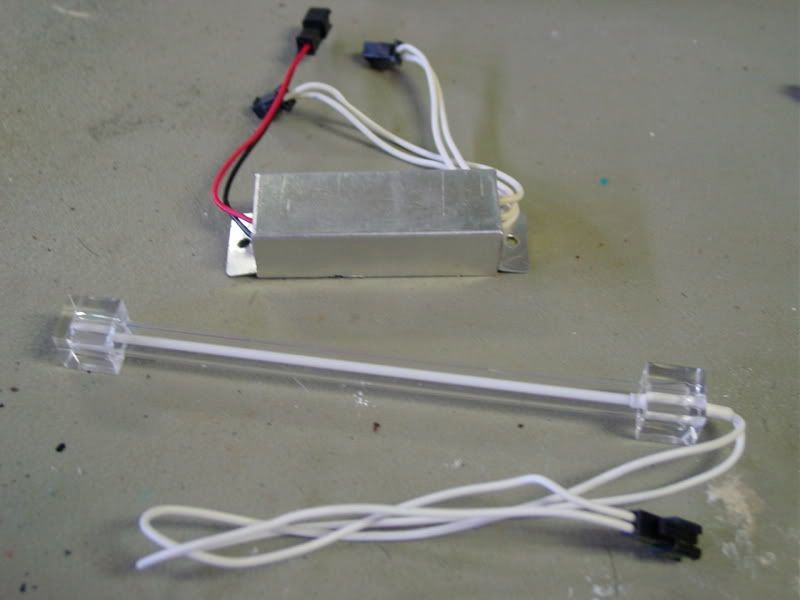
First off I use the 6" cold cathode tubes. I get mine from my local Cheackers Auto store, they are called Optix 6" ultra mini neon, from StreetGlow. They are a bit pricey at $28.00 USD.
They come with the inverter, AC power supply will have to be purchase from your local electronics store. You need to use a 110vac to a 12v DC power supply.
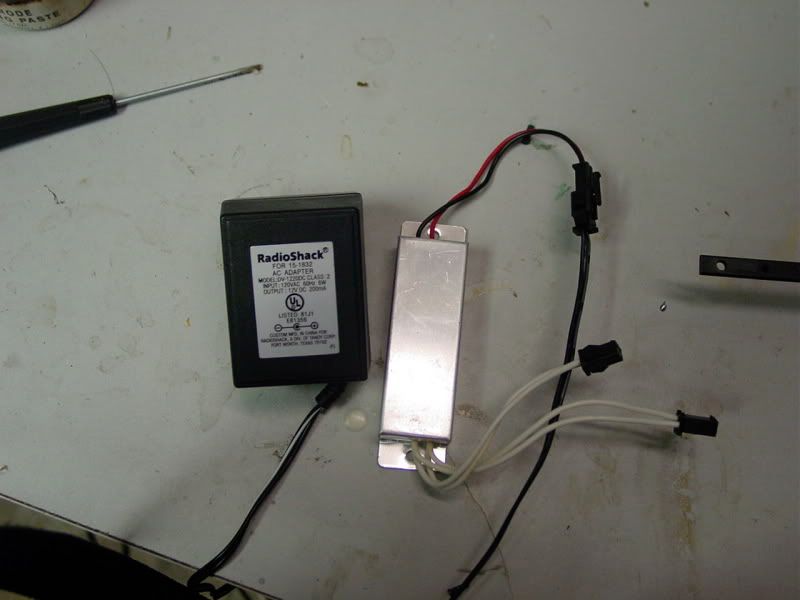
As far as the power supply you might be surprised to find one around the house. Look for one that has a 12 volt DC output. Or you can find them at radio shack or any electronics store.
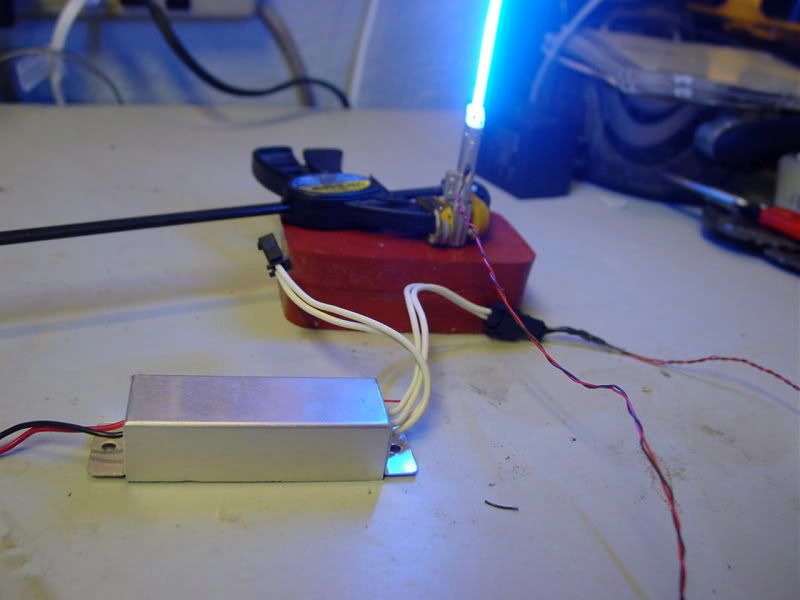
These are the 3 main things you'll need. So lets get started.
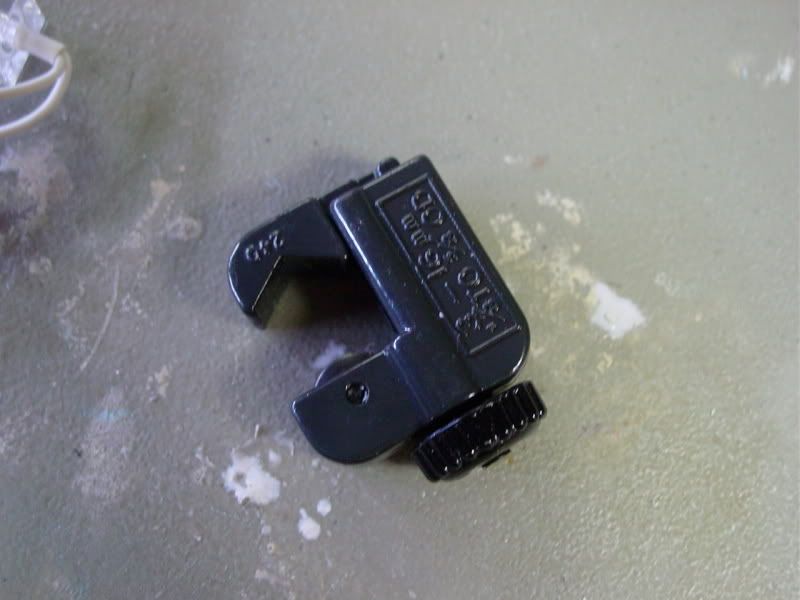
One of the most difficult parts of this project is getting the cathode out of the protective tube.
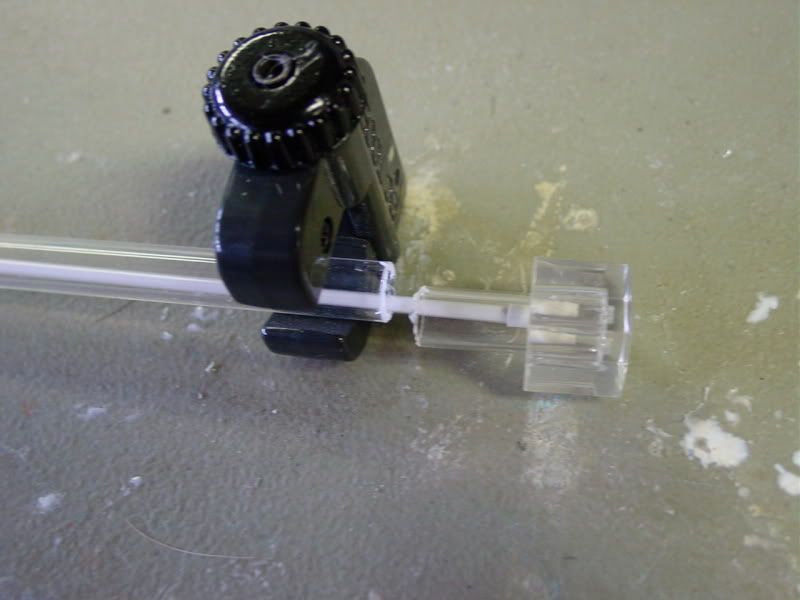
No sweat. Use a mini pipe cutter, you can find them in any hardware store.
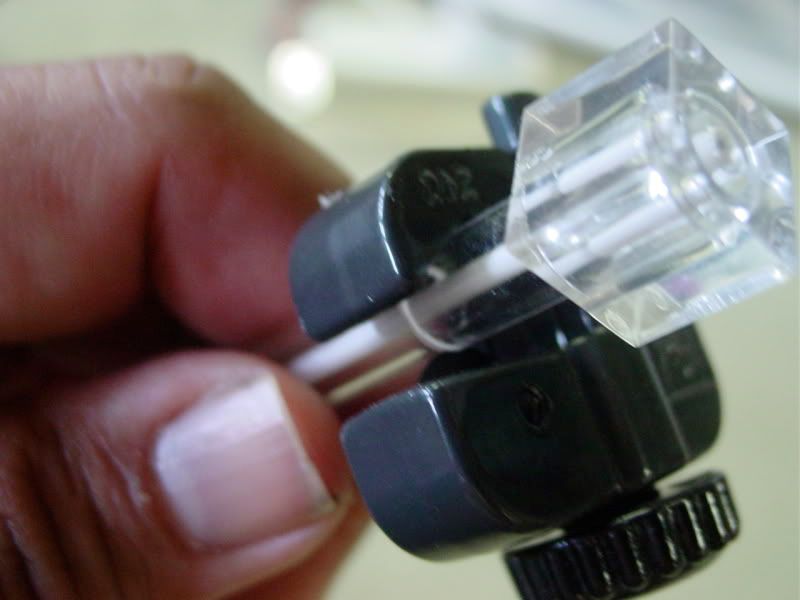
I found this is the safest and easiest way of removing the cathode from the tube with out breaking both the tube and cathode. Just simply attach it, snug it up and start rotating it. Keep tightening and rotating the clamp till it cuts right through.
Now simply and gently pull the cathode out. This is what it looks like.
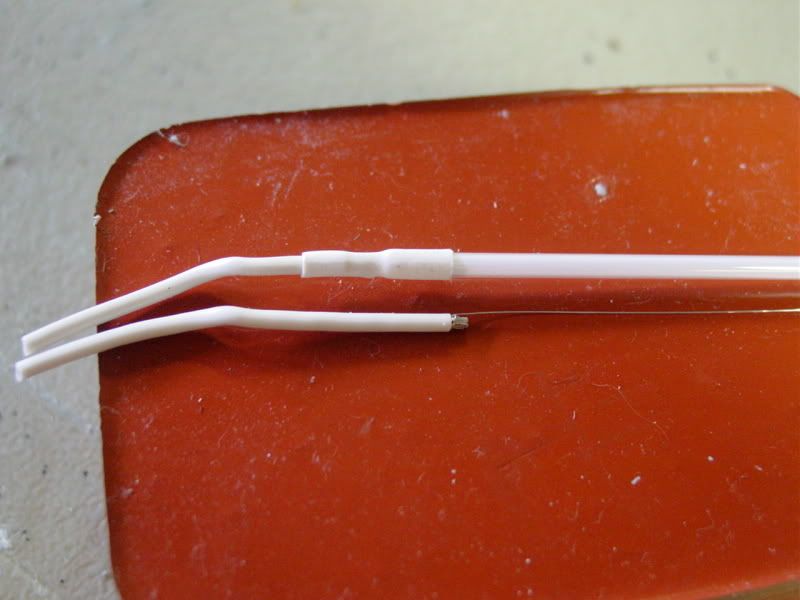
Cut the heat shrink at the base of the cathode to expose the wires. The wires that come with it are two big to fit within the sabe hilts so you need to remove them and replace with a smaller wire, which you can get at the electronics store. Like so. Keep in mind the polarity, positive will connect to the cathode tube base and negative to the mini bare wire.
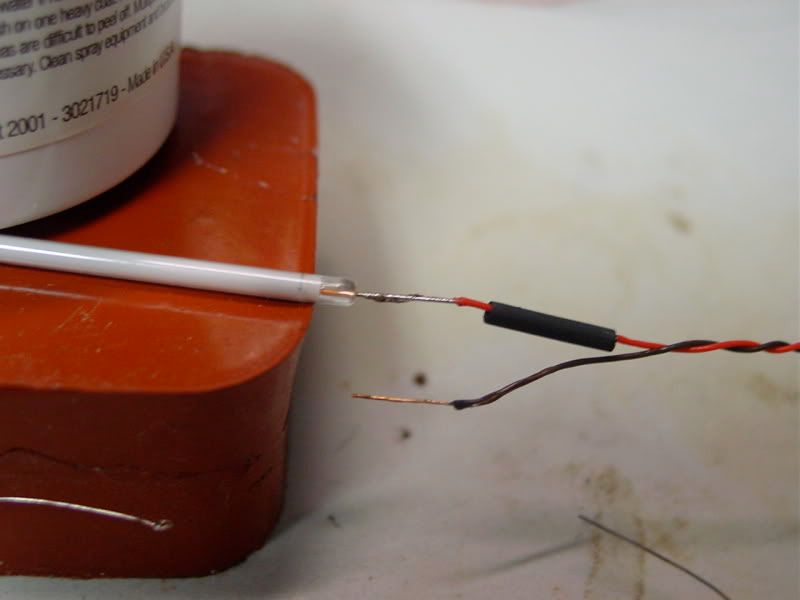
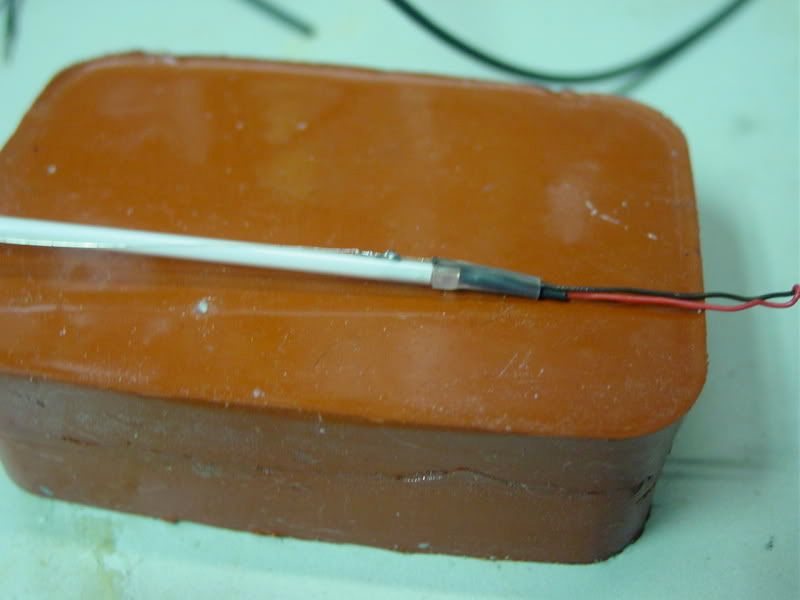
I also use shrink tubing to separate the bare wires. Should look something like this. If you've made it this far half the battle is over!
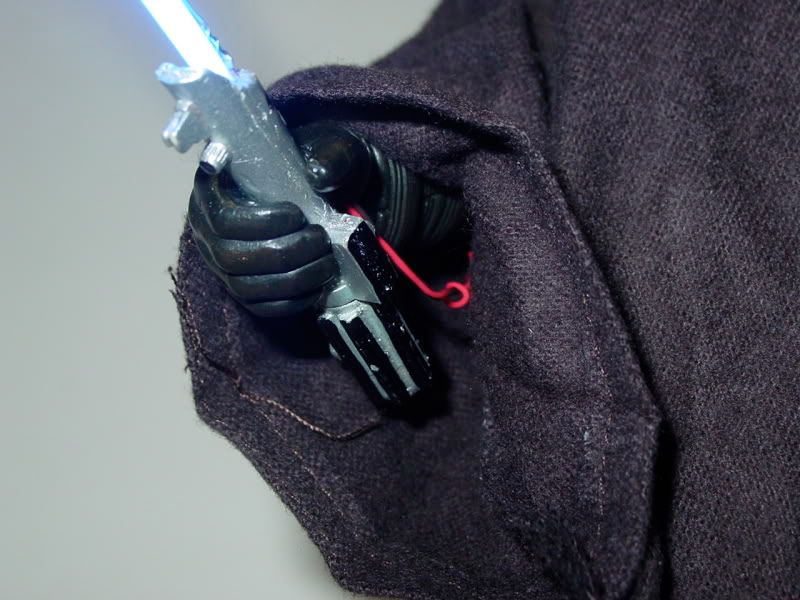
For the saber hilts I like the Sideshow ones. I dont like to use the originals so I like to cast them in resin. Once you have your resin copy you need to drill out the middle of the hilt and also a little hole on the side you want your wires to come out.
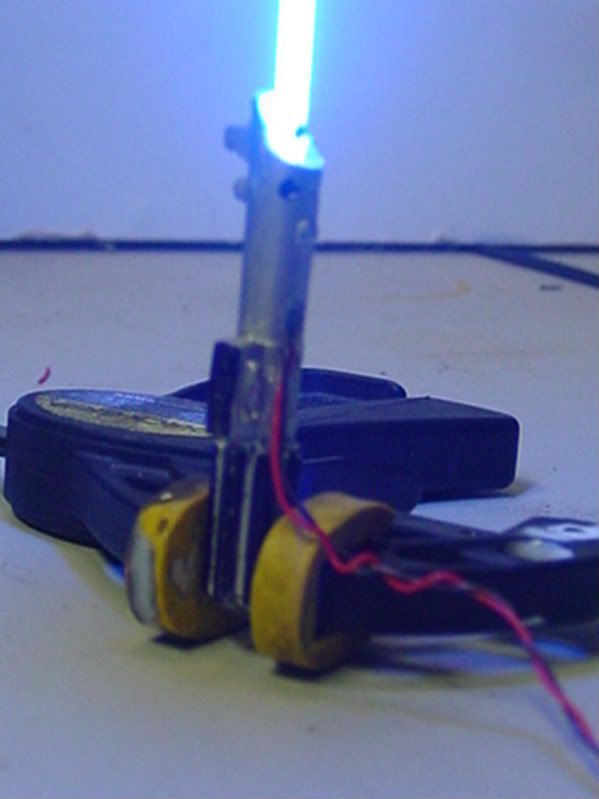
Be careful here it is very easy to drill it crooked, thats why I make copies and not screw up on the originals. Use a drill bit that is just bigger than the cathode itself. Should look something like this.
Had some questions as to how these are done. I'm no expert but this is how I do mine. They are not that difficult to do, but are very fragile so be careful. You will also need to know how to solder.
First off I use the 6" cold cathode tubes. I get mine from my local Cheackers Auto store, they are called Optix 6" ultra mini neon, from StreetGlow. They are a bit pricey at $28.00 USD.
They come with the inverter, AC power supply will have to be purchase from your local electronics store. You need to use a 110vac to a 12v DC power supply.
As far as the power supply you might be surprised to find one around the house. Look for one that has a 12 volt DC output. Or you can find them at radio shack or any electronics store.
These are the 3 main things you'll need. So lets get started.
One of the most difficult parts of this project is getting the cathode out of the protective tube.
No sweat. Use a mini pipe cutter, you can find them in any hardware store.
I found this is the safest and easiest way of removing the cathode from the tube with out breaking both the tube and cathode. Just simply attach it, snug it up and start rotating it. Keep tightening and rotating the clamp till it cuts right through.
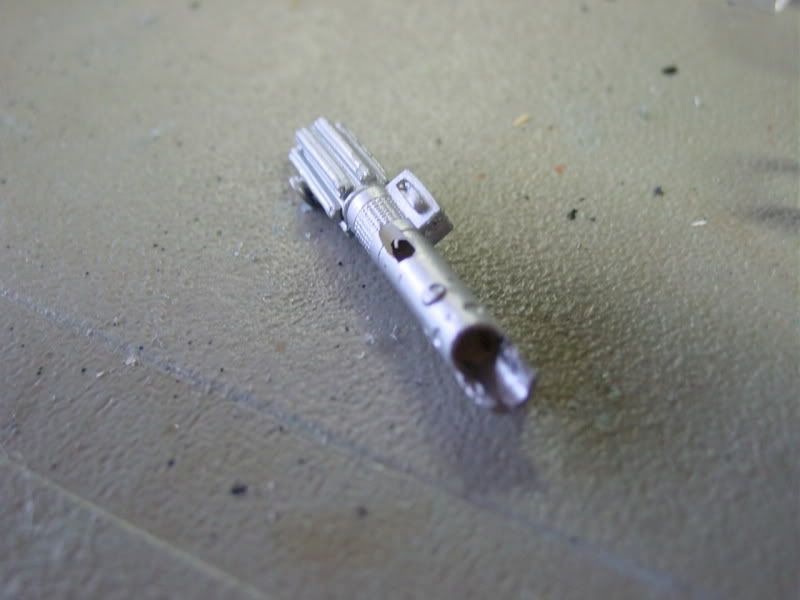
Now simply and gently pull the cathode out. This is what it looks like.
Cut the heat shrink at the base of the cathode to expose the wires. The wires that come with it are two big to fit within the sabe hilts so you need to remove them and replace with a smaller wire, which you can get at the electronics store. Like so. Keep in mind the polarity, positive will connect to the cathode tube base and negative to the mini bare wire.
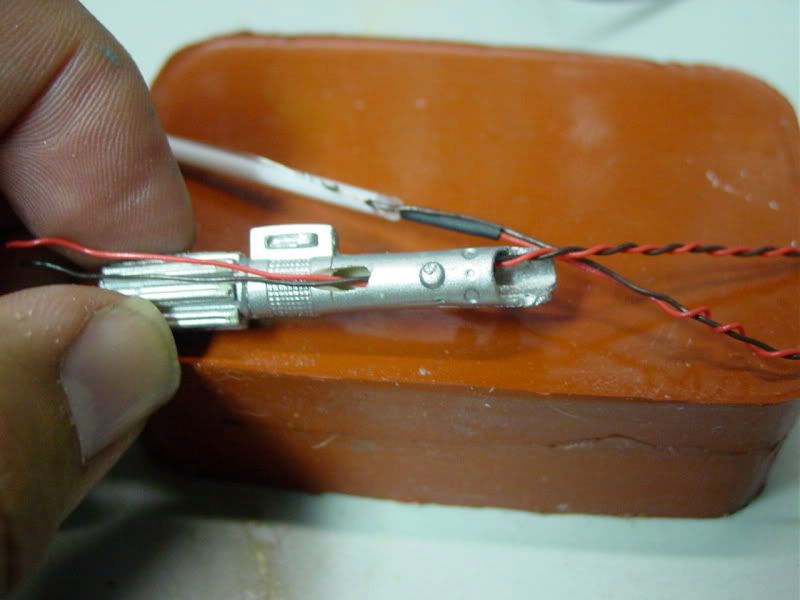
I also use shrink tubing to separate the bare wires. Should look something like this. If you've made it this far half the battle is over!
For the saber hilts I like the Sideshow ones. I dont like to use the originals so I like to cast them in resin. Once you have your resin copy you need to drill out the middle of the hilt and also a little hole on the side you want your wires to come out.
Be careful here it is very easy to drill it crooked, thats why I make copies and not screw up on the originals. Use a drill bit that is just bigger than the cathode itself. Should look something like this.
Last edited:


")


 :maul
:maul